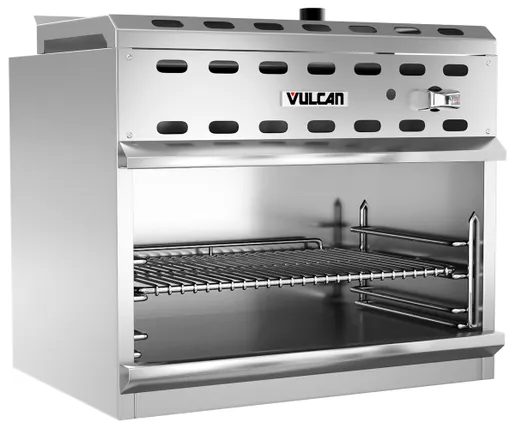
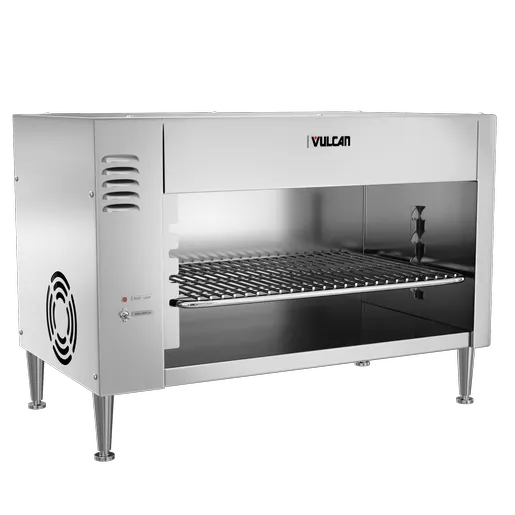
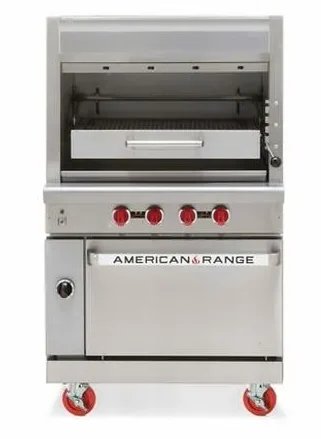
Broiler Alert! What Are Commercial Broilers?
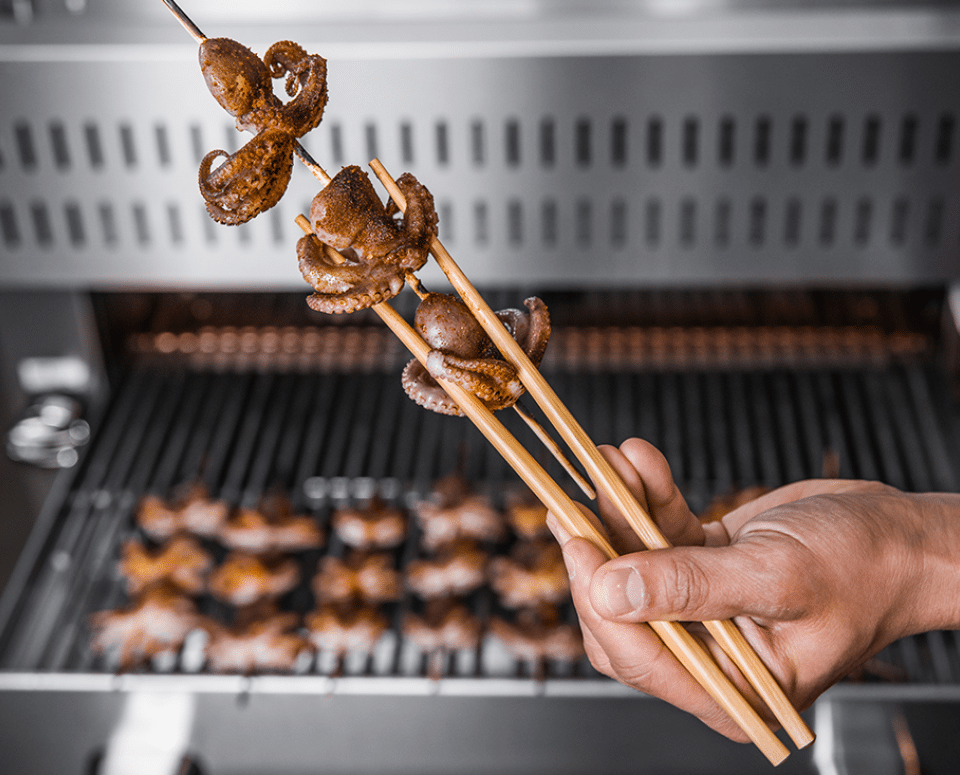
Broiled food is delicious with that crispy, crunchy, bubbly top. Diners love a dish with a lovely broiled finish, and in a commercial kitchen, a broiler can really ramp up your presentation game.
Commercial broilers offer high-efficiency cooking, catering to the demands of busy kitchens like yours. They’re available in a wide range of models and configurations—each with unique features tailored to different culinary techniques, needs, and applications.
Get that INTENSE Heat
Commercial broilers apply a very high temperature to cook food or finish dishes with direct, intense heat distributed from above.
Most commercial broilers have some similar features that make cooking easier, including:
- Adjustable rack positions for better heat exposure.
- Controlled temperature settings for more precise cooking.
- Spacious designs to accommodate large amounts of food.
Broiling gives dishes a unique flavor and texture as a cooking and finishing method. It’s the perfect way to crisp up the skin on roasted chicken, char a steak, or caramelize the sugar on a crème brûlée.
Modern commercial broilers are designed to maximize heat output while minimizing energy consumption. That energy efficiency helps your bottom line by reducing operational costs. While it might be a small energy savings, every little bit counts with kitchen costing!
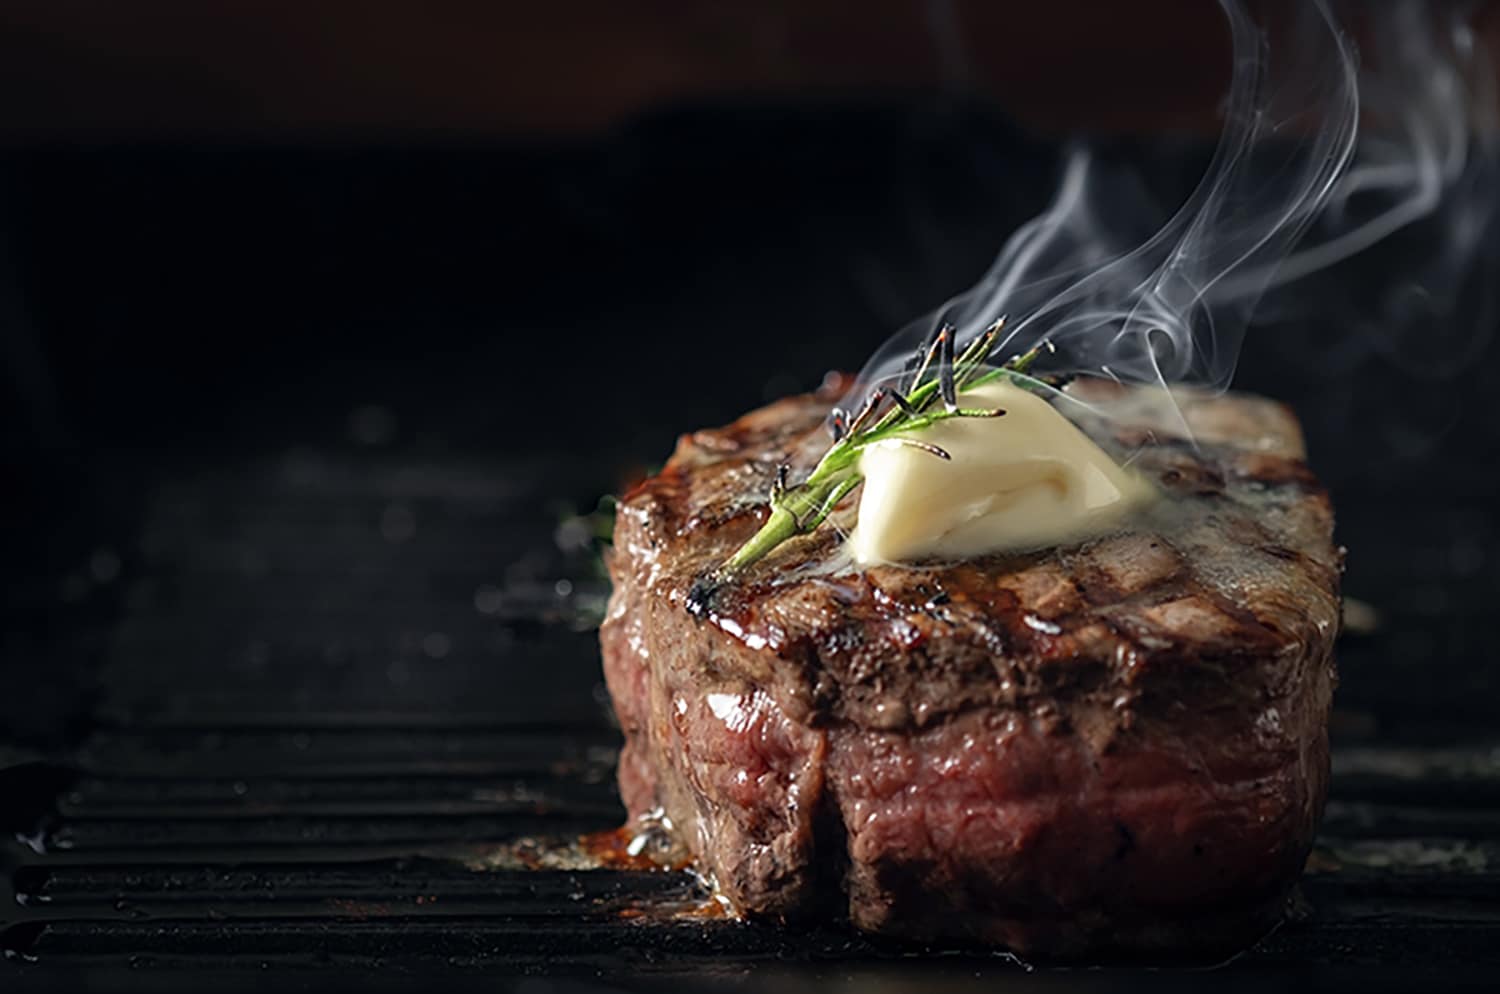
Hot Options: Types of Commercial Broilers
Broilers aren’t just one size fits all. Like many types of commercial kitchen equipment, you have options! Which type of broiler is best? It depends on the application. Here’s a broiler breakdown.
Infrared Broilers
Infrared broilers use the latest infrared technology for intense, direct heat. These broilers feature infrared elements to emit the highest-intensity radiant heat. The heat penetrates the food fast and evenly. Infrared broilers are ideal for quickly searing meat and crisping the exterior while locking in moisture. This broiler option is ideal for steakhouses and large-scale operations because it helps you get a perfect, consistent finish.
Electric Broilers
Electric broilers offer even and consistent heating from above. Electric broilers are often part of a larger, specialized broiling or salamander unit (although they can also be part of electric ovens). These broilers are ideal for browning, melting, and crisping up your favorite foods right before serving. While these aren’t as intense as their infrared counterparts, they’re very reliable and consistent. Plus, electric versions are generally easier to install and maintain than gas.
Gas Broilers
Gas broilers are often the chef’s go-to choice. There’s a good reason everyone loves cooking with gas—it offers rapid heating and precise temperature control. Gas broilers are typically part of a large, heavy-duty broiler unit or salamander but can also be part of gas ovens. Because they feature an open flame, you get a distinct flavor that can’t be beat.
Cruising On Easy Heat: How Do Broilers Work?
If you’re ready to take a broiler for a test drive, let’s look under the “hood” before you fire it up. Here’s how a broiler’s different components work together to create the heat that gives you that crispy, melty goodness.
- Broiler Heating Elements: The heating element is the source of that hot hot heat that cooks food fast. Depending on the type of broiler, the heating elements may be in the form of electric coils or ceramic plates. Gas broilers feature an open flame. Each heating element will give a slightly different finish time and flavor profile.
- Infrared Broilers: Heating elements emit radiant heat directly into the food. As the energy is absorbed, molecules inside the food vibrate and heat up for an even, speedy searing and browning.
- Electric Broilers: Electric coils or elements generate heat as a current passes through. That heat is then radiated down onto the food below (similar to an upside-down grill). Electric broilers have a uniform heat and offer a large area of consistent temperature. The heat can take a little longer and is a little less intense than gas or infrared, but electric broilers provide precise control.
- Gas Broilers: Nothing heats quite like good ol’ fire. Gas broilers use their open flame to heat ceramic plates or metal grates that radiate the heat. Heat placed directly by the flame cooks faster, but gas allows for quick flame control and adjustments. Cooking with gas can be more of an “art.”
- Temperature Control: The broiler is a relatively simple machine, considering the intensity of its job. Besides the respective heating elements, commercial broilers have a control panel with adjustable thermostats or temperature settings, giving you full control over the results.
- Cooking Surface: A commercial broiler’s cooking surface impacts the heat distribution. Broilers with reflective surfaces, metal grates, and ceramic elements spread heat evenly across the surface of foods.
- Ceramic: Ceramic is non-stick and offers consistent, even cooking for delicate foods (and easy cleanup).
- Metal (stainless steel or cast iron): Metal cooking surfaces are the most popular option for high heat in commercial kitchens. Metal cooking surfaces are durable, long-lasting, easy to maintain, and stand up to the thickest cuts.
- Reflective: Reflective cooking surfaces are generally energy-efficient options ideal for lighter, fast-cooking foods and fast, convenience applications.
Making Ends Heat: The Broiling Process
Now that you know a bit about the inner workings of broilers, let’s get cooking! Mastering the art of broiling requires precise timing and technique. After all, broiling is quite close to burning—there’s skill in hitting the mark. Everyone loves a good broil, but no one wants something burnt to a crisp. Timing is everything!
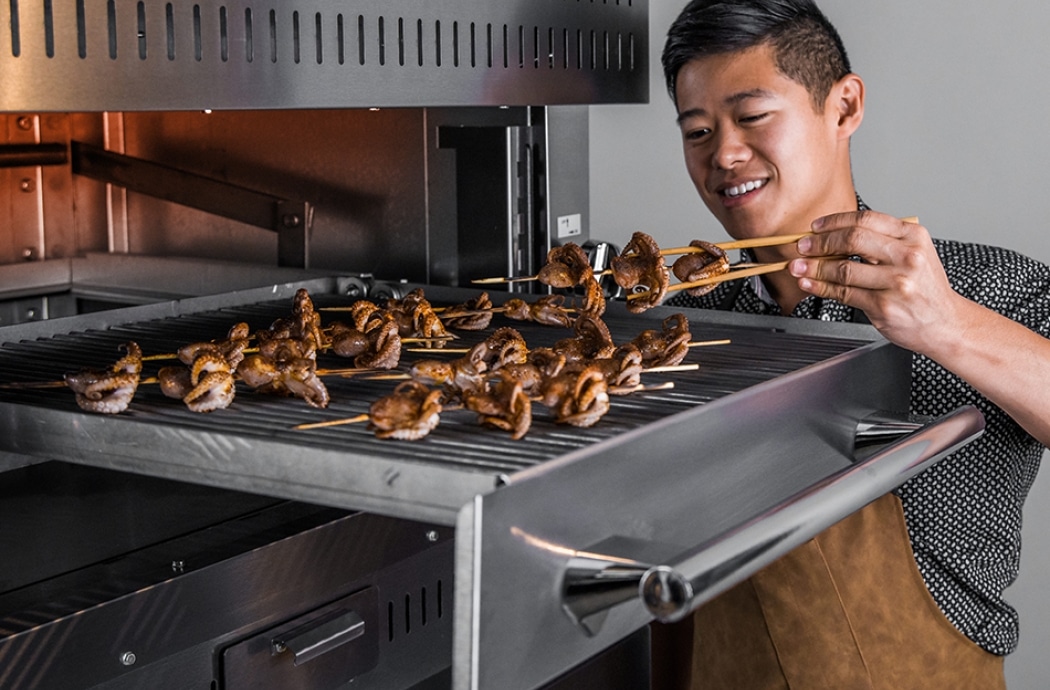
Proteins like meat, poultry, and fish have different specific broiling times and requirements. Vegetables and other foods may have different broiler needs. It depends on the cuts, size, and structure of the item you plan to broil. The goal is to get the surface of the meat crisp and seared to keep the juicy insides at an optimal temperature.
For example, a 1.5” thick steak may need to be broiled for 5-6 minutes per side to achieve medium rare to medium. Thicker cuts of meat will need more time.
On the other hand, pork chops should be broiled for 6-8 minutes per side (an internal temp of 145°F for a slightly pink center) and allowed to rest for 3-5 minutes to allow the juices to distribute evenly.
And when it comes to fish, there’s typically no flipping needed. Broil according to thickness and density. Delicate tilapia will cook much faster than a halibut steak, so it’s essential to keep a close eye on the cooking process to avoid overcooking (rubbery fish is a culinary crime)!
Most vegetables broil in a couple of minutes (especially if they’re pre-cooked), depending on the size of the cut and the preferred final texture. Thicker root veggies may especially benefit from pre-cooking to get that outer-crisp and inner-softness combo that hits the spot. Quick cooking dishes can move from the main oven to the broiler to get a brown and crunchy finish.
Tips for Achieving a Good Broil
How do you really nail the art of broiling? Here are a few tips to help you get it right!
- Preheat the Broiler: Allow the broiler to reach the desired temperature before you start cooking. It’s tempting to hit it with a broil right away—but patience is a virtue (when possible). Allowing the broiler to heat will give you more even results.
- Position Your Food Correctly: Food should be evenly spaced on the cooking surface in a single layer. Don’t overcrowd the broiler pan or cooktop. The heat needs to reach all around each piece of food.
- Turn for Evenness: Give your food a flip halfway through cooking. Most commercial broilers and salamanders heat from above (except for dual-heating and rotisserie broilers). Without a flip, just the top will get that sear.
- Don’t Walk Away: Broiling isn’t a “set it and forget it” endeavor. When the kitchen gets busy, you may be tempted to multi-task, but it only takes seconds for foods to go from perfect to ruined—especially thinner cuts of meat.
When to Use a Broiler Pan
Broiler pans are specially made for the broiler (sounds logical enough, right?). These pans can stand up to high temps and feature a slotted upper pan and a lower drip tray. Broiler pans allow juices and excess fat to drain from the food and air to circulate around each piece, giving a crispy, uniform, or caramelized finish.
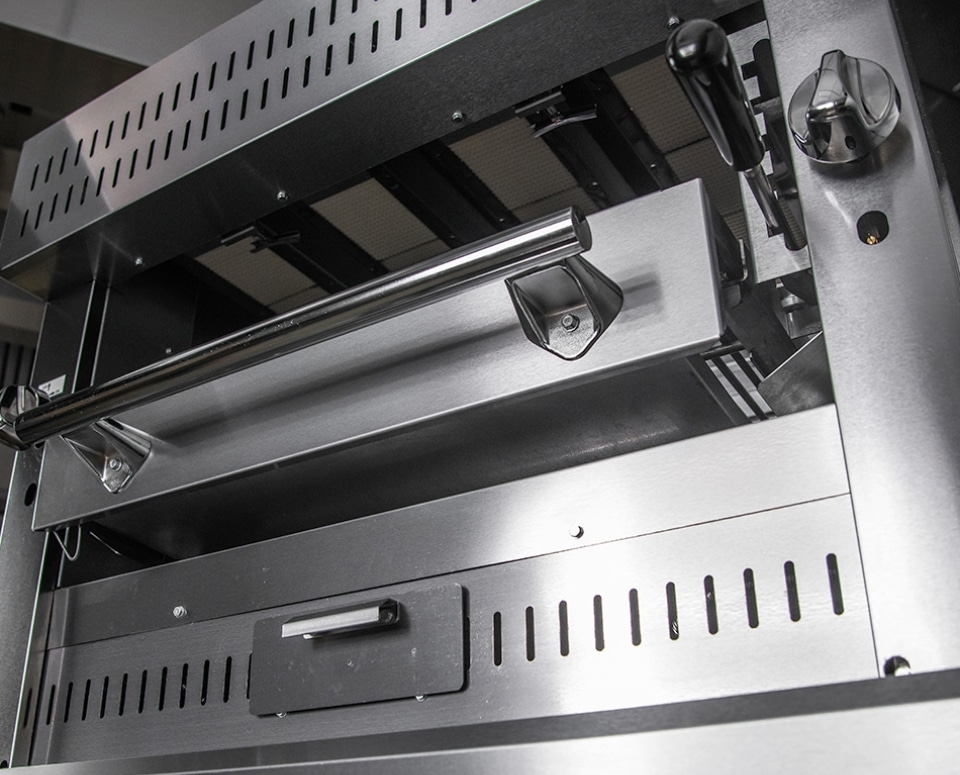
However, a broiling pan isn’t the only tool in your broiler arsenal. Consider the following to make broiling simple and successful.
- Foil: Get easy cleanup when you line broiler pans and baking sheets with foil. You can also shape foil into packets to steam delicate foods like fish and veggies while broiling to retain moisture (and flavor). Cover certain parts of food, like edges or bones on ribs, to keep them from burning.
- Baking Sheets: Baking sheets are perfect for large batches of food. You have a big, shallow metal surface area to house a plethora of vegetables. Baking sheets also give the best results when broiling flat, uniform items like flatbreads and pizza. Then there’s cheese—baking sheets are the ideal base for melting cheese and browning the tops of casseroles. Protect the rest of the cooked dish while getting that *chef’s kiss* finish.
- Racks: Use a rack on top of a baking sheet or broiler pan to bring food closer to the heat. Racks are the go-to solution when roasting meats and cooking foods that need air circulation to get crisp on all sides. Chicken breasts and other poultry do especially well when broiled on racks.
- Cast Iron Pan or Skillet: Cast iron is a chef’s best friend for a good reason—these are ultra-versatile pans. Move a dish from the stove to the oven to the broiler without changing pans. Cast iron retains heat and gives you a crispy sear.
- Grill Pans: No commercial grill? No problem. A grill pan creates those all-important grill marks and gives you even, delicious cooking with a grilled appearance.
Love-Heat Relationship: Broiling vs. Baking
So, what’s the difference between broiling and baking? Both occur under high temperatures, so are they interchangeable? Can you get a broiled finish by baking? Can you finish off a baked good by hitting it with the broiler?
There are some critical differences in the cooking methods. Broiling cooks food with direct, high-intensity heat (typically from a source in the top of the oven or salamander). Food is broiled close to the cooking source—usually 3-6 inches away. It’s a fast cooking method, similar to grilling, but from above. Broil to melt cheese, sear, and get a crispy, browned exterior on the top of your meat.
On the other hand, baking uses indirect, moderate heat from all sides. The heat source comes from either the bottom or both the top and bottom of the unit. Food is placed in the center to get an even surrounding of hot air. Baking is slower—your goal is to cook foods through without burning. Baking is used for bread, cakes, roasted meats, and casseroles.
Broiling is a high-temperature application ranging from 500°F to 550°F and more. Baking is usually done in the 300°F to 400°F range to avoid burning. Because of the indirect heat, baking is ideal for cooking food evenly and thoroughly without burning. Broiling is direct heat that gives a distinctive caramelized, crispy exterior crust—it’s instrumental in achieving a juicy interior and a crisp exterior in meats. Broiling also adds char and smoking flavor (like grilling), which can add depth and flavor to a dish.
In the Hot Seat: Common Commercial Broiling Mistakes and Solutions
Broiling is truly a culinary art. When done well, it creates beautiful dishes that are second-to-none. However, there’s a significant margin of error; once food is broiled too far, you can’t bring it back (it’s burned).
Here are a few mistakes to watch out for to hit that ideal broiling balance.
- Overcooking: Broiling happens quickly and intensely. If food goes too long, you get a dry, tough texture and bitter, burnt flavor. That means monitoring your broiling constantly, especially with thin cuts and small pieces. Even 30 seconds can make a big difference. Use a meat thermometer to help you check the internal temperature for safety.
- Incorrect Rack Positioning: Get the right rack placement in proximity to the broiling element. If the rack is too close or too far from the broiler, you won’t get the desired results (think burned exterior or under-browned top). The rack should be positioned 3-6 inches from the broiler element. Thicker cuts of meat may need a little more distance, and thinner foods fare better when close to the heat. Every unit is different, but once you know your broiler, you’ll find the ideal position.
- Neglecting Preheating: Don’t slack on preheating. It’s an easy step to skip, but if the unit isn’t fully preheated, you’ll get hot spots and inconsistent results. Depending on the manufacturer’s recommendations, a broiler should pre-heat for 5-10 minutes. Preheating (and checking the temperature) gives you more control in the cooking process.
- Using the Wrong Cooking Surface: A flat baking sheet or pan without drainage and air circulation can yield less-than-ideal results. Food steams rather than broils. A broiler pan prevents the issue. Aluminum foil also elevates food and offers easier cleanup. Space your food evenly with plenty of room to crisp rather than steam.
- Not Using the Right Cut or Thickness: Broiling isn’t the ideal method for every dish or cut of meat. Choosing the wrong cut or wrong cooking method for an item will leave you with charcoal instead of food. Proteins should be uniform in thickness and not overly thick—thin cuts of meat often do better. Pre-cook thicker items first and finish them under the broiler—this helps you make sure that the inside is done before the outside is too done.
Go for the Gold(en Brown) Finish with Eleven36
Broiling is a go-to method for almost every cook who wants a perfect golden-brown finish. If you want that melty, brown, caramelized, and seared exterior on your foods, you’ll likely need to add a commercial broiler to your culinary equipment lineup.
Choose from gas, electric, and infrared broiler and salamander options. Consider your needs, your output, and the foods you most like to serve when deciding what broiler to buy. A small restaurant with fish filets or chops on the menu might do well with an oven unit or a smaller-capacity broiler. A steakhouse or catering operation may need the ability to broil foods in bigger quantities.
Broiling adds that delicious finish your customers crave, and it’s truly a must-have in the commercial kitchen. If you’re exploring your commercial broiler options, reach out to our team at Eleven36. We’ll help you find the best method for that perfect 10/10 finish!

