The Best Way to Sharpen and Maintain Your Slicer Blade
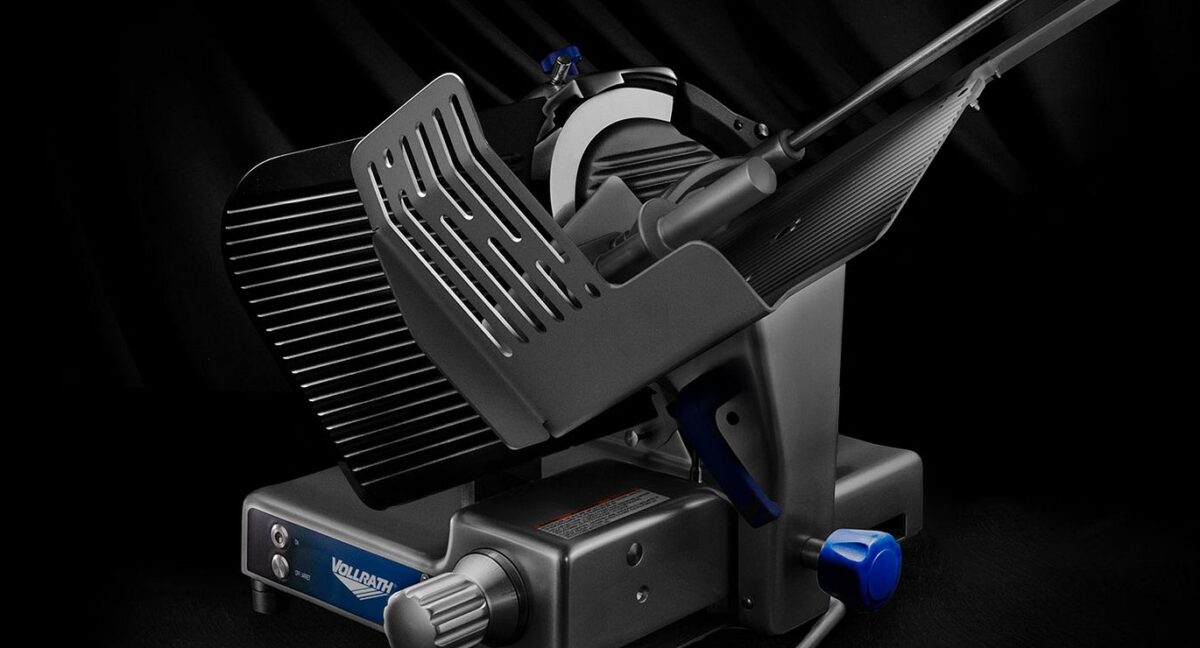
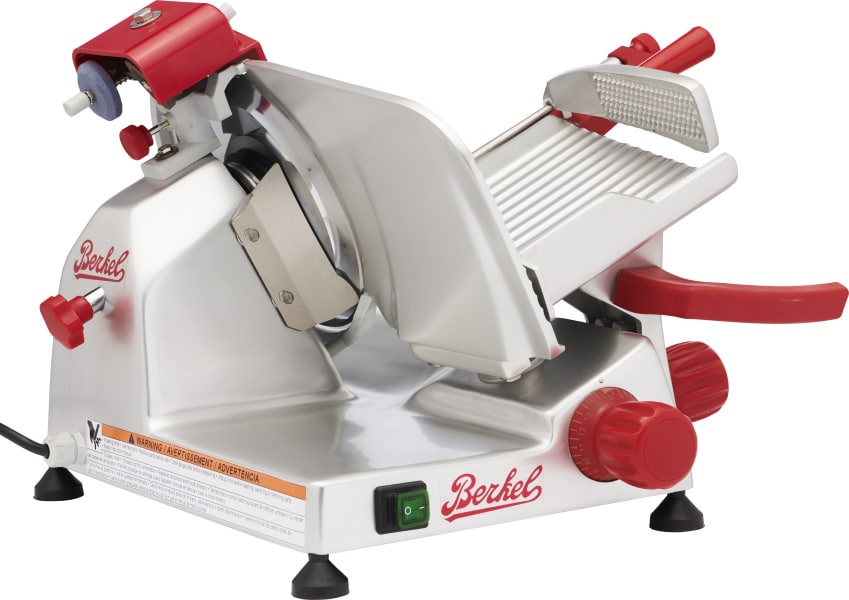
Having a commercial meat slicer in your kitchen is a great way to — you guessed it — slice meat! More than that, meat slicers allow you to cut thin slices of meat quickly, consistently, and precisely without the need to slow down for precision knife cuts. They can even cut other foods like bread, cheese, and vegetables. No matter how you slice it, meat slicers, or deli slicers, are indispensable tools in the kitchen for businesses like delis, sandwich shops, diners, grocery stores, or any other food service establishment that could use the ease and convenience of regulated precision cuts, while minimizing food waste!
To ensure that the quality of your cuts is there every time, make sure your meat slicer blades are sharp and ready for whatever you throw at them. When blades grow dull, you risk losing precise cuts, sacrificing the texture and quality of your food, increasing food waste, and potentially harming your kitchen staff.
Knowing how to sharpen a meat slicer blade ensures that your product will always come out clean and presentation-ready — And you know what they say in the biz: presentation, presentation, presentation!
Preparing to Sharpen Your Blades
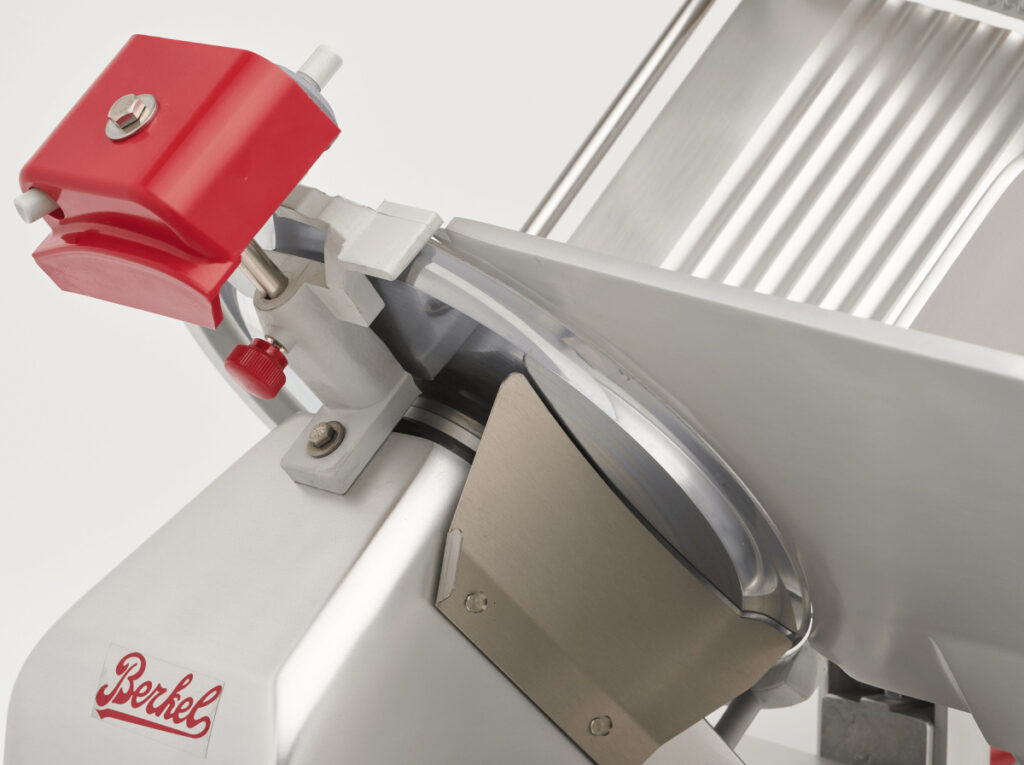
What Kind of Blades Can I Sharpen?
Slicers can be used with two different kinds of blades: serrated and non-serrated.
- Serrated or “toothed” blades work by digging into the food with their teeth while applying pressure. This combination means the slicer requires minimal effort to cut and is perfect for harder or crustier foods like bread and hard cheeses (like sharp cheddars).
- Non-serrated or “smooth” blades are thinner and rely on the sharpness of the blade along with pressure to slice. They are better suited for foods you wouldn’t want to shred with the teeth, like cold cuts and softer cheeses (like provolone).
Because the two different blade types have different shapes, they require different sharpening tools and techniques. Serrated blades are more difficult to sharpen because each notch must be sharpened individually. But there’s no need to worry — neither style is difficult to sharpen, so with some simple preparation, you’ll be honing your skills in no time!
What Precautions Should I Take?

Before you begin, ensure you have the proper safety gear. Never forget, even dull blades are sharp! So be sure to have cut-resistant gloves, eye protection, and a clutter-free surface to work on.
Helpful Tip: Layer a food-safe latex glove over your Kevlar glove to maintain food safety standards.
You can never be too careful when handling dangerous commercial equipment, so before you begin, double-check that your meat slicer is set to manual, powered off, AND unplugged. Once the blade is detached from the slicer machine, elevate it by a few inches on your work surface and secure it on non-slip materials such as rubber.
Further Reading: OSHA keeps a list of safety precautions specifically catered to meat grinders and slicers — check it out here.
The Right Tools for the Job
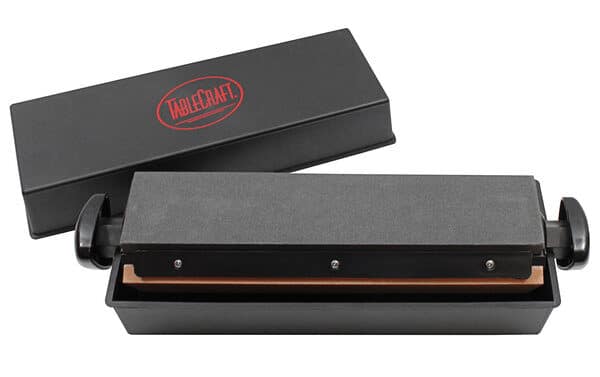
Some meat slicers come with a built-in sharpener. But if yours doesn’t, you’ll need a sharpening stone, a honing rod, or sharpening steel. With multiple options to choose from, here’s some tips for choosing a suitable stone for your meat slicer’s blade:
- Oil Stones: Also known as bench stones, these stones must be lubricated with oil before use. They are long-lasting and come in various grits to achieve different polishes and finishes.
- Ceramic Stones: These stones do not require lubrication. Because of the fine ceramic surface, they can be used to achieve an ultra-fine cutting edge, even when used on blades that are already sharp.
- Whetstones: Whetstones require water or water-based lubricants before use. They do not last as long as bench stones but produce a finer sharp edge and more polished finish.
- Diamond Stones: These are the hardest and coarsest option. They produce a rougher cutting edge but last for a long time. They are a great starting stone for very dull blades and can be followed up with another stone to finish the cutting edge.
While specific stones work best for certain blade types and sizes, there’s no need to figure that out for yourself. Most manufacturers recommend specific sharpening stones and techniques for their blades, so always check the user manual and manufacturer’s guide.
Step-by-Step Sharpening Guide
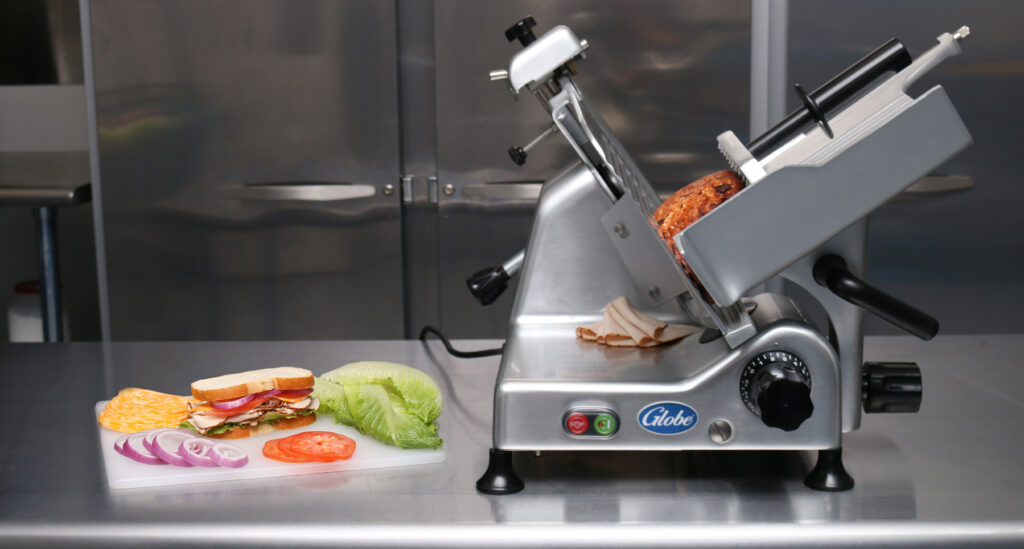
Sharpening your deli slicer blades is easy; just follow these simple steps!
How to Sharpen Non-Serrated Meat Slicer Blades
- Ensure the meat slicer is powered off and unplugged.
- Carefully unmount the blade from the base machine using a screwdriver and place it on your non-slip surface.
- Clean the blade with a rag and warm, clean water to remove any residue or food particles on the surface. Ensure the blade is completely dry before proceeding.
- With the blade slightly elevated above the work surface, hold your prepared sharpening stone at a 20º angle to the edge of the blade.
- Keep in mind: Some blade manufacturers may list the correct angle or techniques for their blades, so be sure to check those recommendations before beginning.
- Run the stone over the blade’s edge in long, smooth strokes, maintaining the 20º angle at all times.
- Flip the blade over and repeat the sharpening strokes a few times on each side.
- Begin with coarser grit sharpening stone (for the most shaping) and move to a finer grit as you work (to polish the edge, remove burrs from the metal edge, and create a finer finish).
- Once sharp, clean the blade once again and finish by applying a thin layer of mineral oil to protect the metal and prevent rust.
- Re-mount the blade on the meat slicer. Double-check that all screws and fasteners are tight and in place before running the machine again.
How to Clean Serrated Meat Slicer Blades
- Ensure the meat slicer is powered off and unplugged.
- Carefully unmount the blade from the base machine using a screwdriver and place it on your non-slip surface.
- Clean the blade with a rag and warm water to remove any residue or dirt on the surface. Ensure the blade is completely dry before proceeding.
- With the blade slightly elevated above the work surface, hold your prepared sharpening stone at a 20º angle to the blade edge on the flatter side of the disc edge (the edge with less beveling in the serrated notches).
- Keep in mind: Some blade manufacturers may list the correct angle or techniques for their blades, so be sure to check those recommendations before beginning.
- Run the stone over the blade’s edge in long, smooth strokes, maintaining the 20º angle at all times.
- Begin with coarser grit sharpening stone (for the most shaping) and move to a finer grit as you work (to polish the edge, remove burrs from the metal edge, and create a finer finish).
- Flip the blade over. Run the length of a honing rod through each serrated notch to clean up any burrs created by the sharpening stones on the other side.
- Once sharp, clean the blade once again and finish by applying a thin layer of mineral oil to protect the metal and prevent rust.
- Re-mount the blade on the meat slicer. Double-check that all screws and fasteners are tight and in place before running the machine again.
Blade Maintenance Tips
If your commercial kitchen uses the meat slicer daily, aim to sharpen your blades at least once or twice per week. Less frequent use, or having additional sharp blades on hand to switch out, could mean sharpening them less often.
How will you know when it’s time to sharpen your blades?
- You need to apply more pressure to get the food through the slicer.
- Your slices are uneven or shredded.
- Food debris is flying off the blade instead of falling nicely onto the pile of slices.
- There are notches, cracks, or visible nicks in the blade edge.
In addition to compromised food slices, dull blades pose an additional risk to the person using the slicer. A dull blade can get caught on food or slip, which puts the user at risk of accidental cuts and injuries.
When Issues Arise, Administer First Blade
If you have tried sharpening your blades only to find them losing their edge quickly or not getting very sharp, there are some things you can try before sending your blades off for professional sharpening services.
- If you have been using and sharpening your blade for a long time, the blade may have been filed too much. When this happens, try replacing it with a new blade.
- If your blades rust or break, they may need additional protection from lubricants during and after the sharpening process.
- If you think your blades are getting dull too early, you may not be cleaning them thoroughly or often enough.
Maximizing the Life Span of Your Slicer Blades
Regular cleaning and maintenance are the key to keeping your meat slicer and its blades sharp for as long as possible. All parts of the meat slicer, including the blades, should be cleaned and sanitized at least once daily. If your slicer is used regularly throughout the day, it should be cleaned and sanitized at least every four hours to prevent buildup, bacterial growth, and potential foodborne illnesses. This means removing the removable parts and cleaning them with a sanitizing solution – it may be labor-intensive, but it’s worth it!
When storing your extra blades, be sure they are dry, coated with mineral oil, and wrapped tightly in plastic. This technique prevents the growth of bacteria and rust and protects the blade so there are no accidents!
Check the Eleven36 Blog for a list of excellent Cleaning Tips for your meat slicer! After all, regular maintenance and cleaning will extend the life of the blade!
Increase Kitchen Efficiency
When your kitchen staff is in a good workflow and operating “in the zone,” the last thing you want is for them to have to stop and pull out a replacement blade for the meat slicer. Having well-maintained blades will keep those slices looking clean and sharp all day.
The best way to keep up with your blade maintenance is to work the cleaning and sharpening into your regular kitchen routine. When you’re cleaning your commercial food processor, go ahead and clean and sharpen your meat slicer, too. When it’s time to pull the stove out and mop, it’s also time to sharpen those blades!

Cutting to the Chase with Eleven36
At the end of the day, keeping your commercial slicers in good condition is an integral part of keeping your kitchen in tip-top shape. Having a sharp blade on your meat slicer means having the ability to serve regular, even, clean, and perfect slices of your favorite foods every day. At Eleven36, we know that having the highest quality equipment means serving the highest quality product, which is why all of our commercial meat slicers and sharpening tools are of the highest possible quality. Just see for yourself!
