Mastering Reach-In Refrigerator Installation: Your Ticket to Chillville

Your reach-in refrigerator is a kitchen staple. Whether running a commercial kitchen in a restaurant, commercial establishment, bakery, or food production facility, you probably interact with your reach-in fridge multiple times a day. Reach-in refrigerators are more convenient than running off to walk-in refrigerators every time you need something. Who doesn’t love easy access to chilled items when the heat is on?
But the safety and efficiency of your reach-in refrigerator hinge on proper installation. If the fridge is installed incorrectly, it will waste energy, shorten its lifespan, and even be dangerous. Here’s what you should know to maintain constant temperatures with a properly installed reach-in refrigerator.
The Frost Step: Pre-Installation Preparation for Commercial Reach-In Refrigeration
If you’re starting to build out your new kitchen or replacing a worn-out reach-in with a shiny new one, there are a few pre-installation considerations—namely space, ventilation, electrical, plumbing, and proper flooring.
Even if you’re putting the new upright units in the same spot as the old ones, you should do some pre-installation prep to protect your investment for years to come.
Space for the Refrigerator
One of the main concerns is floor space. Is the area large enough to accommodate the refrigerator? Do you have easy access to the doors and drawers? Can the doors be fully open for cleaning and easy access? Look at the swing of the door and the direction. Is there sufficient room in the kitchen during peak service times?

Your reach-in refrigerator must have enough storage capacity to hold everything you need. Often, features like adjustable shelving can help with the game of refrigerator Tetris. Glass door refrigerators (such as those used in convenience stores, display cases, and back bars) should be attractive and easy to access. But when it comes to finding the perfect reach-in refrigerator—even glass door models—size is a critical factor.
Your food service establishment needs to optimize kitchen space. If you have a kitchen with a smaller footprint, there are plenty of commercial units with deceptively spacious interiors. Look at vertical as well as horizontal space. There are a wide variety of sizes in the reach-in refrigerator market, and it’s worth a little additional cost to find the right storage space for your kitchen perishables.
There should also be enough space around the fridge for accessibility during shifts and also for regular maintenance. Extend the life of your fridge by cleaning the condenser coils, checking refrigerant levels, and easily servicing any electrical components. This is a good idea to help you save on energy consumption too.
Level Flooring is Crucial
Commercial reach-in refrigerators and reach-in freezers require a level surface at all times. When you pull out your old fridge, take time to check that the floor is completely level and undamaged. An unlevel surface leads to door misalignment, which leads to an improper seal.

When a reach-in refrigerator door fails to seal, cool air leaks. These leaks drastically decrease the efficiency of your fridge. The motor has to work harder to maintain ambient temperatures. The fridge may sound louder. You’ll likely notice an increase in your utility bills. Eventually, you’ll need to replace the fridge because of its shortened lifespan. Glass doors and solid doors both require an even surface.
In short, a level surface is absolutely critical for your reach-in refrigeration. Don’t skip this step!
Refrigeration Ventilation
For the safety and efficiency of your kitchen, reach-in refrigeration systems must have adequate air circulation. That means you need enough space around the intake and exhaust vents (typically located at the back or on the sides of an upright refrigerator unit). Without air circulation, the fridge can overheat, and internal temps can fluctuate.
Look at the vent clearance as well. Most recommendations suggest 3-6 inches of clearance around the sides and back of the refrigerator and 12-15 inches of clearance on top. Check the manufacturers’ instructions and your local building codes to be sure you have adequate space for operation, airflow, and maintenance accessibility.

To keep your refrigerator working optimally, place it away from any heat sources (like ovens, grills, and even direct sunlight). Extra heat stress makes the compressor work harder to maintain uniform temperatures, increasing electricity consumption and reducing the energy efficiency of your commercial refrigeration.
Electrical Requirements
Refrigeration runs on electricity, obviously, so you’ll need a dedicated power supply for your reach-in unit. Having a dedicated electrical circuit prevents overloading and other electrical hazards. Commercial refrigerators shouldn’t share circuits with other major appliances in your kitchen.
Verify your fridge’s voltage requirements and that the outlet matches these requirements. Most commercial refrigerators need 115V/120V outlets, but larger models may need higher voltage (like 220V). Make sure that the outlet type (e.g., three-prong) matches the plug for your fridge.
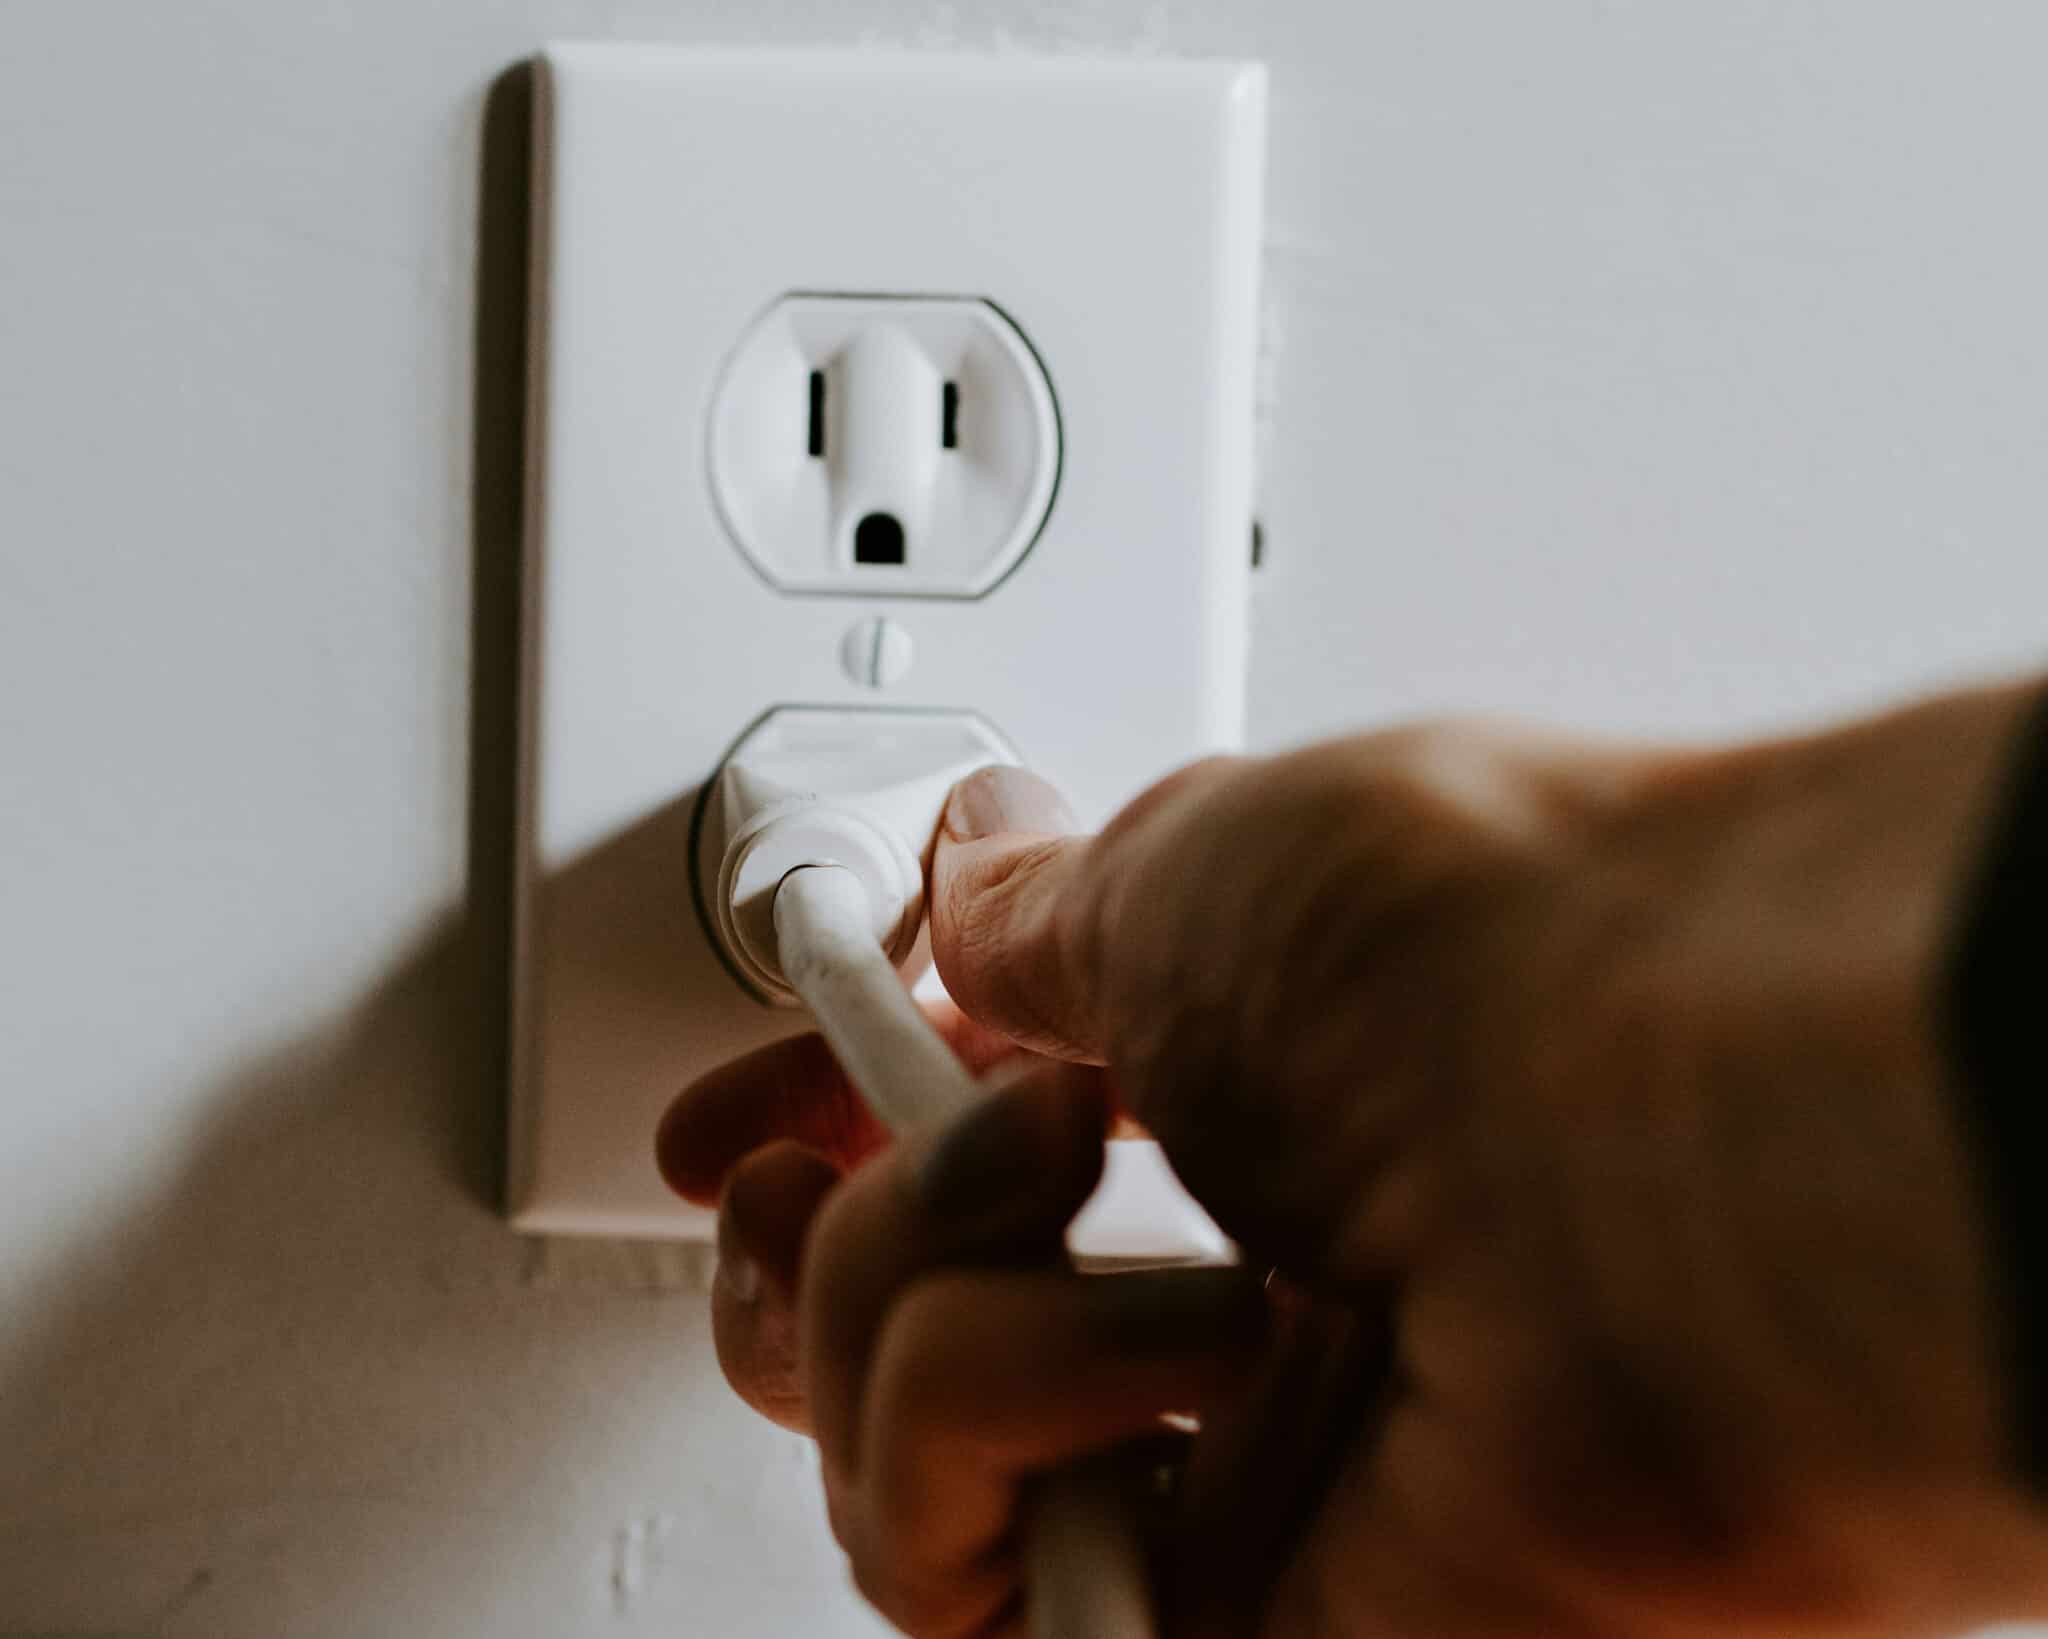
It’s essential that all electrical connections are grounded, especially in the kitchen. Proper grounding prevents electrical shock and fire hazards and is a code requirement. You will also need to check the amperage rating of your refrigerator against the circuit breaker to make sure it’s suitable for the load.
Plumbing Systems
While it’s not always at the forefront of our minds when we think of refrigeration requirements, it’s important also to make sure that your new reach-in refrigerator fits with your plumbing system.
What’s the connection between refrigeration and plumbing? Some reach-ins connect to a drainage system for defrost water and condensation (often if the model has an automatic defrost feature). A potable water supply is needed if the refrigerator includes an ice maker or water dispenser. Generally, it’s also good to have a water filtration system for units with water dispensers and ice makers to prevent scale buildup and clogs.

Finally, air gaps or backflow prevention devices should be installed for any system connected to your water lines. This helps prevent backflow contamination to water lines and is often a health code requirement.
Consult the manufacturer’s literature for other instructions and installation guidelines. It’s well worth hiring a professional for complex installations (like those involving electrical and plumbing work). Proper installation will help ensure your new refrigerator is up to code and meets regulations. It will also ensure that you don’t accidentally void the warranty.
Nailed It! Tools and Materials Required for Installation
So, what do you need to gather before you install your reach-in refrigerator? Most installations require a variety of tools. It’s best to have everything handy before you begin the process. Here’s a breakdown of what you’ll need:
- Level: A must-have to ensure that the refrigerator is level for proper door function
- Measuring Tape: Essential for measuring the space and ensuring adequate clearance.
- Screwdrivers: Keep both a flathead and Phillips screwdriver on-hand for assembling and adjusting.
- Wrenches or Pliers: You may need to tighten and adjust bolts and nuts for plumbing and electrical components.
- Utility Knife: Save your precious chef knives by using a proper utility knife for opening packaging and trimming insulation and sealing.
- Drill: You may need to secure brackets and supports to the walls or floor.
- Dolly: Use a dolly or hand truck to move and reposition the refrigerator safely.
- Gloves and Safety Goggles: Put safety first with protective gear against sharp edges, moving parts, and flying debris.
- Wire Strippers and Electrical Tape: For any required electrical adjustments or installations (use caution).
- Torpedo Level: A torpedo level is specially crafted for small spaces, making it ideal for minor leveling adjustments.
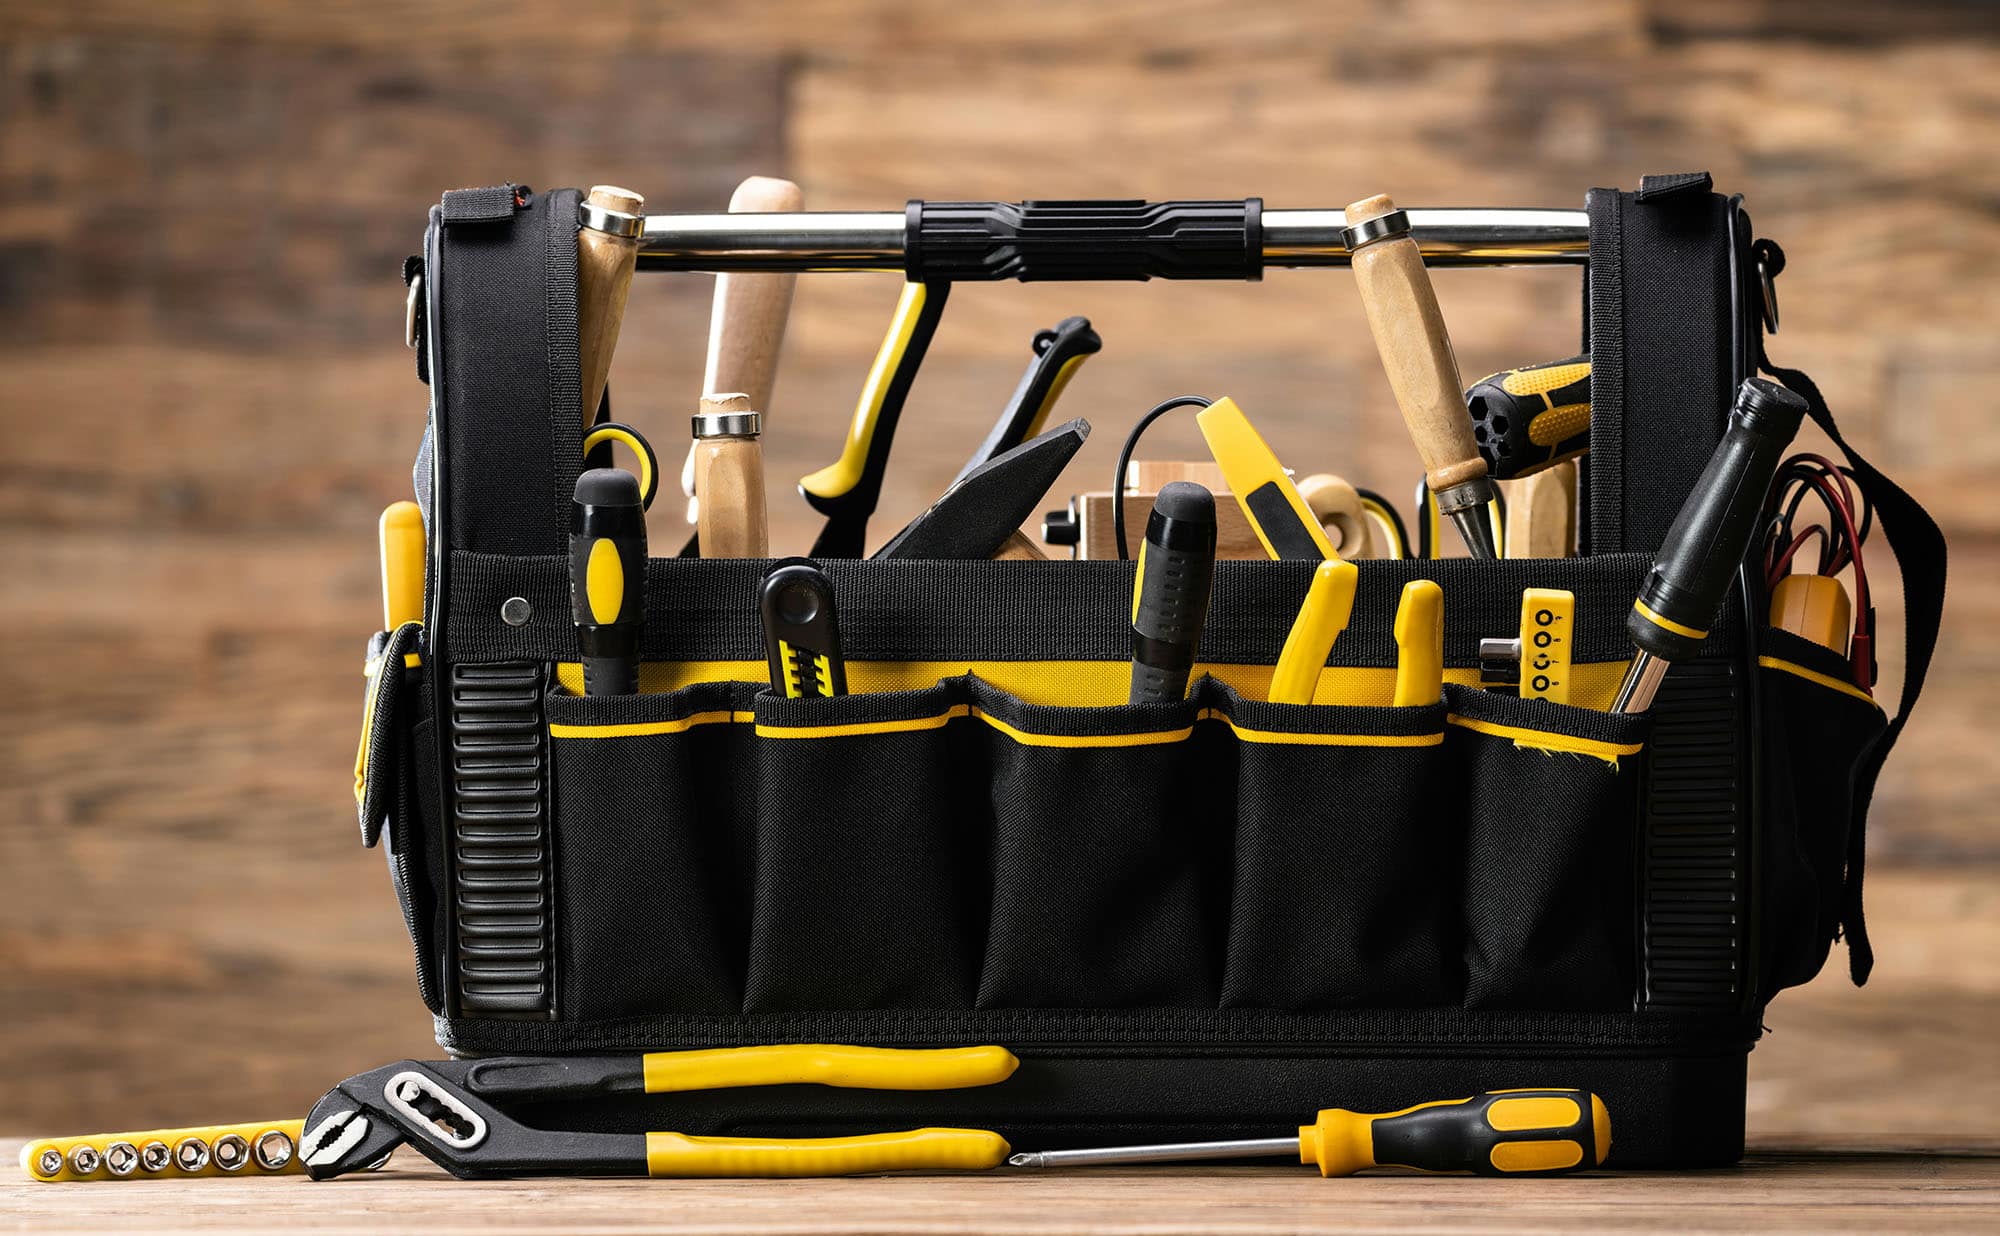
In addition to the above tools, you should also assemble the following materials:
- Sealant and Tape: Seal any gaps and ensure efficient insulation.
- Shims: in case you need to adjust the level of the fridge on uneven flooring.
- Caulk and Caulking Gun: To apply sealant for plumbing connections.
- Insulation Foam and Strips: Insulate any gaps that could make the fridge less efficient.
An important note on safety:
Be sure that you always take safety precautions before moving or installing a commercial reach-in refrigerator. When moving the refrigerator, use proper lifting techniques and get assistance. It’s best to use a dolly to prevent injuries (to your back or the appliance).
Plumbing, electrical, and ventilation may require professional assistance. All electrical work should be done with the power off and in accordance with all local codes. Similarly, the kitchen should be adequately ventilated, and plumbing connections should be thoroughly checked for leaks.
Make sure that the reach-in refrigerator is securely fastened and stable. Refrigerators can tip over if they are on an uneven surface. Review all manufacturer’s instructions before proceeding with your commercial reach-in refrigerator installation.
Good as Cold: Commercial Refrigerator Installation Process
Once you’ve assembled your tools and assistance, it’s time to unpack and install your commercial refrigerator. Here are the basic steps, but you should always refer to any manuals and manufacturer’s literature.
Step 1: Unpack and Inspect
The first installation step is to simply unpack the refrigerator and assess. Remove the packaging carefully to avoid any damage to the unit. Clear away the packing materials from the vents and from any moving parts.
Look over the refrigeration unit for any damage or issues that might occur during shipping. It’s especially important to pay attention to the doors and hinges. Look at the inside of the reach-in units to ensure shelves and drawers are intact and aligned. Look at the manufacturer’s inventory list to account for all parts and components. If anything is amiss, contact the supplier immediately.
Step 2: Measure and Mark
Use your measuring tape to determine the precise location of the refrigerator. Mark the footprint on the floor with tape or a pencil. Ensure that the marked area works with your kitchen’s traffic flow. This is where the adage “measure twice” comes into play.
Verify that there’s enough space around the marked area for air circulation. Typically, that means at least a few inches on either side and several inches atop and behind the unit. Also, make sure that doors and pathways are unobstructed by open refrigerator doors.
Step 3: Check and Confirm Electrical
Before installing the commercial refrigerator, double-check the power requirements. You can usually find this information on a plate inside or on the back of the unit. They must be compatible with your kitchen outlet and electrical output.
Turn all power off at the breaker whenever you work with wiring to prevent any safety hazards. If you need to adjust an outlet or situation with electrical, it’s best to leave it to a professional (now is the time to make any needed adjustments).
Secure all the wires and don’t stretch or pinch them during the installation. It may be helpful to use cable clips to keep them neat and tidy against the wall or floor.
Step 4: Check and Confirm Plumbing Connections
If your commercial refrigeration unit has a water line (if it features an ice maker or water dispenser), you will need to review all instructions for connecting the flexible tubing to the water line. There should also be a shutoff valve on the water line close to the refrigerator to cut access if maintenance needs arise.
Check the drainage as well. The defrost water and condensation need a clear path to the drain. Check for kinks in any hoses that could lead to water buildup. Check your local codes for guidance on air gap requirements to prevent backflow contamination. You may need to install backflow prevention devices. This is another time you may need to enlist the help of a professional.
Step 5: Securing the Refrigerator
You may need to anchor the commercial reach-in refrigerator to the floor (especially in high-traffic areas or with uneven flooring). Brackets can hold the refrigerator in place and prevent tipping. Use the right anchors for your floor type, ensuring they’re installed at all the manufacturer’s recommended points.
Some models support or require wall-mounting. In this case, you’ll need to use heavy-duty brackets and wall anchors that can handle the weight and size of your fridge. Also make sure that the anchor wall can support the weight of the fridge (is load bearing). If you are uncertain, you may need to contact a professional to avoid structural damage and safety hazards.
Step 6: Leveling the Unit
We’ve said it before, but the importance of proper leveling cannot be understated. Leveling is crucial for the correct sealing of refrigerator doors. A commercial reach-in refrigerator must be kept completely level so internal mechanisms (compressors and fluids) operate efficiently. If the unit isn’t level, it will be less efficient—increasing energy costs and causing more wear and tear on the components.
For leveling, you can adjust the feet and casters at the base of the refrigerator. Use a wrench or pliers to get perfect alignment. Use a level from several angles and adjust the casters (or add shims to the floor) as necessary to keep your refrigeration unit flat and stable.
Step 7: Testing the Refrigerator
Congratulations! Your refrigerator is connected and positioned successfully. Now it’s time to power it on to ensure all the functions…function. You’ll want to check the lights, fans, and digital displays.
Listen to your new refrigerator. Do you hear any unusual noises? Listen to the compressor to ensure it cycles on and off smoothly, as expected, and without interruptions. Noise may indicate that something is damaged or the refrigerator isn’t level.
You’ll also want to set the temperature controls (follow the manufacturer’s instructions) and monitor the temperature for 24-48 hours. Make sure that it reaches and then maintains the desired temperature. Check the accuracy of the internal thermostat by using a reliable thermometer in the fridge. Adjust the settings for food safety (at or below 40°F/4°C). Ideally, most guidelines suggest setting the unit to 38°F (about 3.3°C)—slightly lower than needed to accommodate the door opening and closing. Protect perishable ingredients with a safe temperature range to guard against spoilage.
Check the internal thermostat’s accuracy with an external thermometer and adjust the settings as needed for food safety and optimal operation.
Is Your Refrigerator Running? Better Go Catch It and do Post-Installation Maintenance
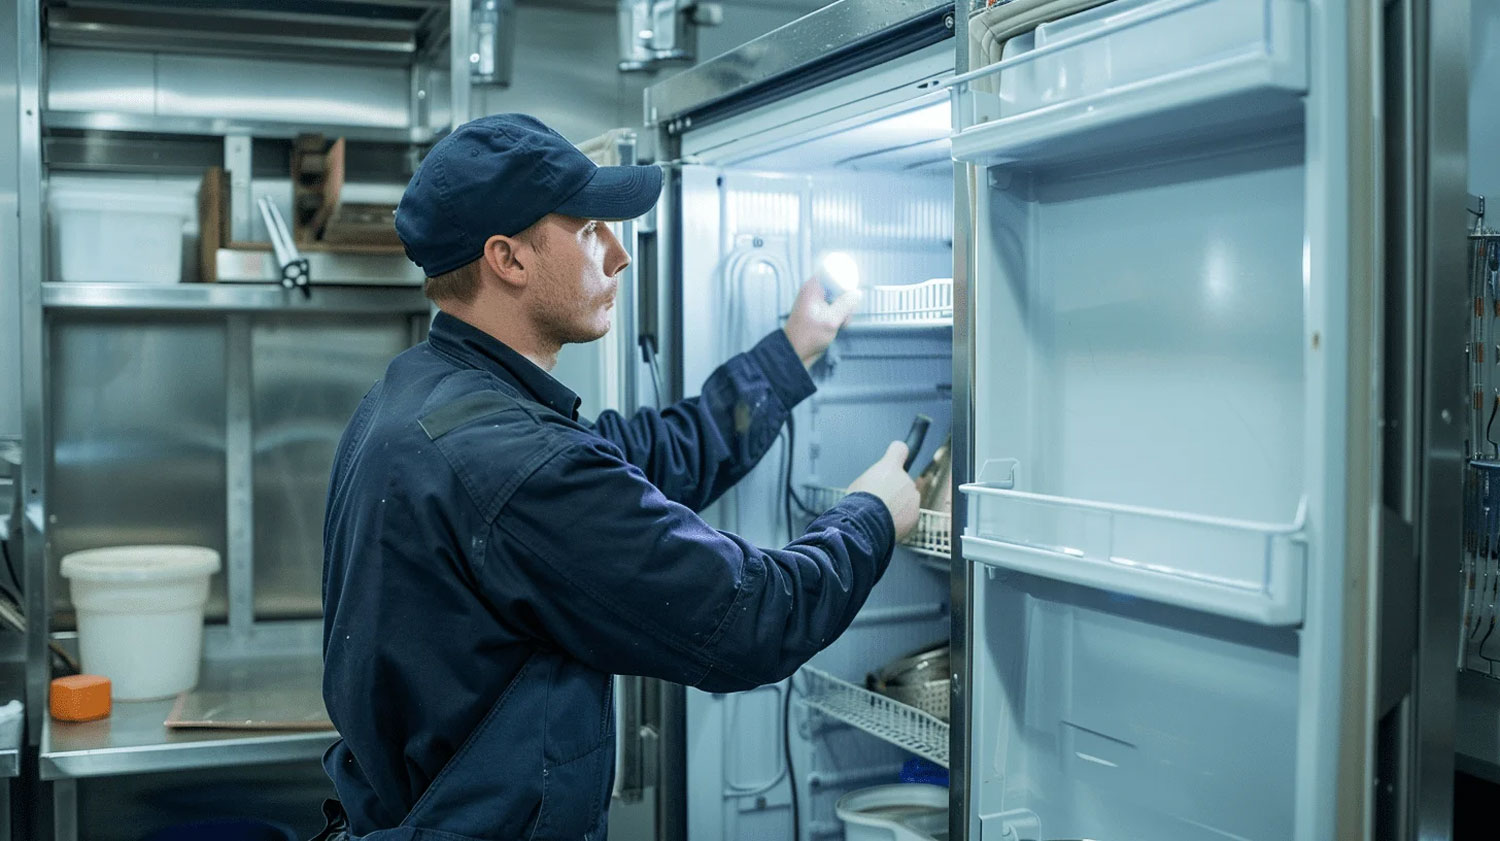
Now that you’ve installed your beautiful new reach-in refrigeration unit, how do you keep it running smoothly? Like any appliance, proper maintenance and regular cleaning are vital to keep your fridge running at optimal levels. Follow these tips to keep it “cool:”
- Clean and Sanitize the Interior Regularly: Like everything in the kitchen, regular cleaning and sanitizing is critical for health and food safety. Use mild soap and water or baking soda mixture to prevent odors and maintain cleanliness. Address any spills immediately and clean the fridge regularly. Follow the manufacturer’s recommendations for other cleaning products.
- Keep a Regular Maintenance Schedule: Establish a regular maintenance schedule that includes checking and cleaning the condenser coils. During maintenance, inspect all the door seals to ensure they’re still holding tight, and there’s no cracking. Inspect and test the temperature settings using a separate, reliable thermometer. You should perform maintenance every three to six months.
- Address Concerns Right Away: Strange noise? Fluctuating temperatures? Lights flickering? For common issues, consult the manufacturer’s literature and troubleshooting tips first. If the problem persists or seems complex, seek professional assistance. It’s better to address a minor issue now than to let it turn into a bigger issue down the road.
- Follow Best Practices: Yes, there are best practices for commercial refrigeration! Avoid overloading the refrigerator. Make sure that there’s plenty of space around the unit to maintain proper air circulation. Keep your refrigerator away from sunlight and heat sources. Always make sure that the door is sealed. These small steps can help your refrigerator have a long, reliable life.
Colder and Wiser: Commercial Refrigeration Installation Tips
There are a few tips that can help you make sure your refrigerator is installed correctly. Take time to plan ahead to protect your investment and save money down the road.
- Comply with all Codes and Regulations: There are a lot of regulations in the culinary industry—mainly to protect patrons and staff from illness and injury. Follow all the local building codes and regulations for installing commercial refrigeration. Always make sure you’re compliant with health and safety standards. Be ready for a health inspection anytime, and ensure you have all your necessary certifications and documentation (like temperature logs) up-to-date and handy.
- Budget for Expenses: A reach-in refrigerator is one of the mainstays of equipment in your kitchen. It’s worth investing a little extra “dough” to get a top-of-the-line unit. It’s also worthwhile to budget for installation expenses. Factor in plumbing or electrical assistance in your installation budget—those aren’t areas to cut corners. By doing most of the installation yourself, you’ll still save money. From there, keep up on regular maintenance and cleaning to extend the life of your unit.
- Review Your Warranty and Service Agreements: Always review the terms of your service agreements and familiarize yourself with your refrigerator’s warranty. Some service agreements may change if you get a new unit, so it’s best to reach out to any maintenance and repair partners to stay in compliance. Most reputable commercial refrigerator brands will include a warranty. It’s important to review the terms of your warranty so you don’t accidentally void it. Moving the unit or not having adequate ventilation can sometimes nullify the protection.
- Rely on Professionals: Refrigeration, plumbing, ventilation, and electrical upkeep may all require some level of professional assistance. Look at is a way to extend the life of your product and peace of mind. Buying used units or tackling DIY “hacks” can make your kitchen dangerous. It can also wind up costing you much more to rectify an emergency situation than to spend a little more upfront.

Ice and Easy: All the Refrigeration Assistance You Need
At Eleven36, we can help you select your new reach-in refrigeration unit and assist with the installation. We have experience in all things commercial kitchen-related, and we’d love to help.
It’s important to plan ahead during an installation. Check your plumbing, electrical, and ventilation to make sure they’ll fit with your new refrigerator. Review the manufacturer’s literature and prepare before you start the installation.
Always power off the kitchen breakers before you begin the installation (your commercial refrigerator should be on its own circuit). Remember that keeping your refrigerator level is a crucial factor in optimal performance.No matter your commercial refrigeration needs, you’ll find everything you need with Eleven36. Reach out today; we’ll be happy to help you find the ideal setup for your commercial kitchen.
